


- Date: 11 April, 2026
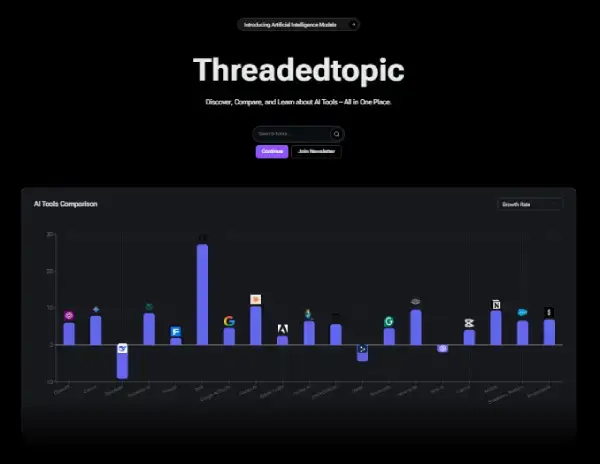
Make Money with AI: 10 Best Tools and the Brutal Reality of Online Income in 2026
- 9 min read
Artificial intelligence has transformed how people work online. Some traditional jobs have disappeared, while new opportunities and entire digital careers have grown rapidly. From what...
- Date: 10 April, 2026
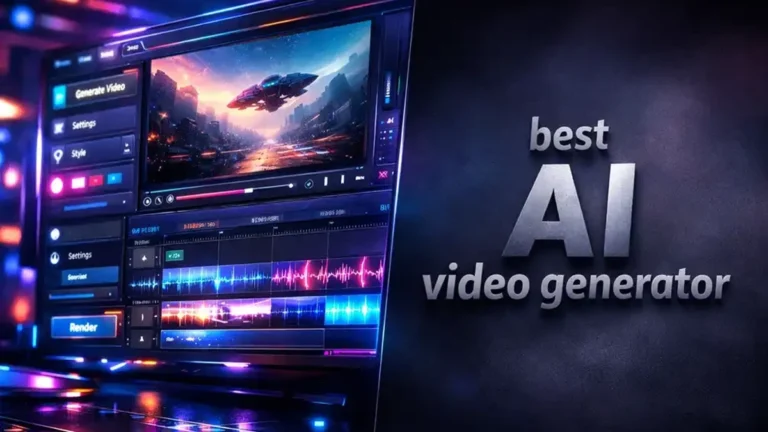
I Tested the Best AI Video Generator — The Surprising Truth: Which Tools Are Actually Worth It (and Which Are a Waste of Time)?
- 9 min read
Best AI video generator tools have quietly taken over social media, especially the animated clips and funny short videos that suddenly appear everywhere. At first,...

- Date: 10 April, 2026
AI Tools for Bloggers in 2026 (Tested): Revolutionize Your Content Workflow with Proven Strategies
- 10 min read
When I first started exploring AI tools for blogging, I realized they were not just about writing articles faster. I’ve personally seen bloggers use an...
- Date: 9 April, 2026
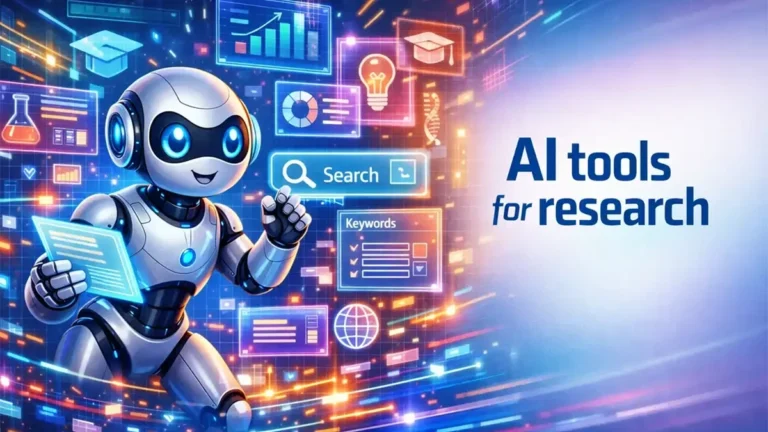
AI Tools for Research: Building a Smart AI System to Learn Faster
- 9 min read
AI tools for research have shaped the way I think about building digital products, but this project feels different on a personal level. I have...

- Date: 9 April, 2026
The Future of AI Assistants: Powerful Innovations, Hidden Risks, and What’s Coming Next
- 9 min read
The future of AI assistants has become impossible to ignore, especially after I began experimenting with different generative AI assistants in my daily workflow. At...
- Date: 8 April, 2026
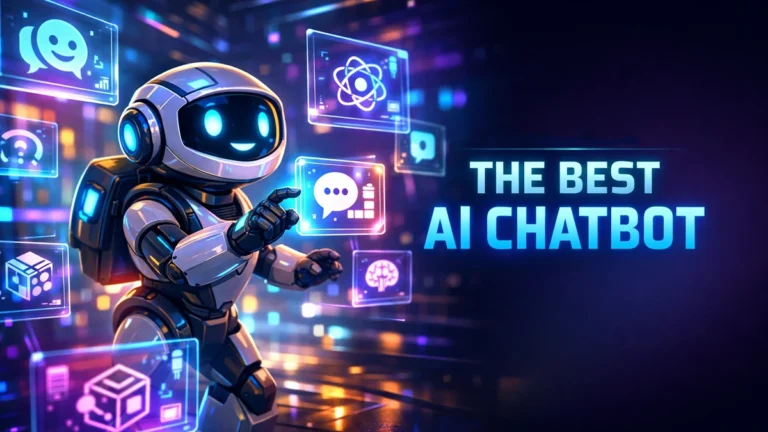
Best AI Chatbot Comparison: My Real Productivity Test of ChatGPT vs Claude vs Gemini vs Grok
- 10 min read
Comparisons between different tools became a real part of my daily workflow, so I decided to run my own productivity test instead of trusting marketing...